
Easy Chainsaw Sharpening for Homeowners
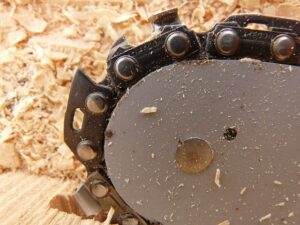 If your chainsaw suddenly starts bouncing, smoking, or forcing you to push harder than usual, the chain is probably dull and will need sharpening!
The good news?
Sharpening a chainsaw chain isn’t complicated. Even better news is that you don’t need much experience to do it safely and effectively.
With a few basic tools and a simple method to follow, even first-timers can get their chain cutting cleanly again in minutes.
Below is a clear, step-by-step guide to help you sharpen your chainsaw chain confidently, whether you’re using a full-size saw or a small 6-inch pruning chainsaw.
Tools You’ll Need To Sharpen Your Chainsaw Chain
You don’t need a full workshop. You just need a few essentials that are not expensive and once you have them you can use them over and over for years to come.
* Round file (matched to your chain size: 4.0mm, 4.5mm, or 5.5mm are common)
* File guide (helps you keep the correct angle)
* Flat file
* Depth-gauge tool
* Vice or clamp (optional but makes sharpening much easier)
* Work gloves
* Brush and cleaning materials (to remove dust, sap, and debris)
OR
If you want the easiest option and don’t mind spending a bit more, a handheld electric chain sharpener or other more sophisticated chainsaw sharpening systems makes the job faster and almost foolproof.
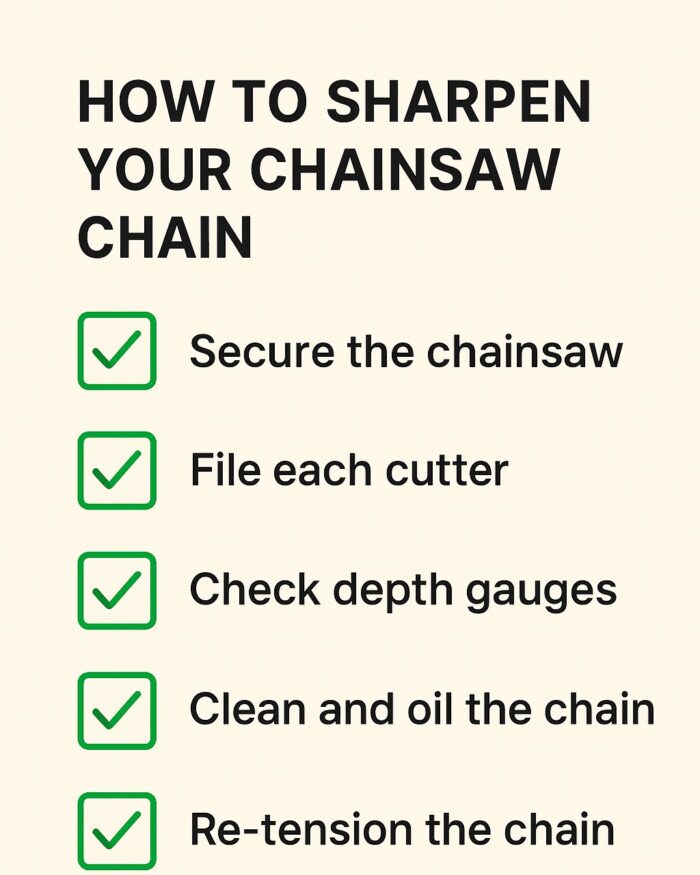
Chainsaw Sharpening Procedure
1. Secure the Chainsaw Safely
Safety first.
Switch off the saw, remove the battery or unplug it, and engage the chain brake.
If you have a vice, gently clamp the bar to keep the saw steady. If not, place it on a flat surface and brace it with your knee. However, make sure the chain can still rotate freely.
2. Pick Your Starting Point
Choose one cutter tooth and mark it with a pen or bit of tape so you know where you started. Chains have repeating patterns, so marking your starting tooth makes sure you stop when you reach that point again.
3. File Each Cutter at the Correct Angle
Place your round file into the cutter so it sits just above the top plate.
Most chains require a 25° to 35° angle, and your file guide will show you exactly how to hold it.
Then:
* Push the file forward in smooth strokes
* Lift the file on the return (don’t saw back and forth)
* Use 5–10 strokes per cutter or until the metal is shiny and sharp
Repeat on every tooth along that side of the chain.
Then flip the saw and sharpen the cutters on the other side.
4. Check and Adjust the Depth Gauges
Depth gauges are the small bumps in front of each cutter. If they’re too high, your chain won’t bite properly.
Place your depth-gauge tool over the chain.
If any gauge sits above the tool, use your flat file to bring it down to the correct height
This step is quick, but it makes a huge difference in cutting speed and smoothness.
5. Clean, Oil, and Re-Tension the Chain
Brush off metal filings and debris and clean the chain.
Add fresh bar and chain oil.
Finish by checking chain tension and adjust as necessary.
Final Tip: Sharpen Little and Often
You shouldn’t wait until your saw begins to struggle to cut. That puts pressure on the chain, the bar and the motor.
Rather do a quick sharpen every time you refuel or recharge which will keep your cutting smooth, straight, and safe. It will also contribute to improved longevity of your chainsaw.
With the right tools and a few minutes of practice, sharpening a chainsaw chain becomes one of the easiest maintenance jobs you’ll ever learn.
It will also save you a lot of time, effort, and money in the long term.
In Summary
Also check out a complete chainsaw maintenance checklist